Drip puts the power of lifecycle emails into the hands of everyday marketers like you and me.
It lets you setup lifecycle, or as they call it marketing automation, emails triggered by any action a user takes, “be it expressing interest in particular topic, downloading a sample chapter of your book, starting a trial of your software, or viewing your upgrade page but not upgrading.” They aim to give you 90% of the features of enterprise-level marketing automation software at 10% of the cost.
Drip is built from the ground up to make it easy to get started with marketing automation, while also giving you access to the advanced features you will need as you grow, without all the extra bloat.
The Drip Team clearly put a lot of careful thought and planning into their UI, as most of their screens make each step obvious to the user.
Because of the intuitive UI, you are able to launch your own lifecycle email course in under 30 minutes, and this guide will show you how.
Let's get started!
First Login
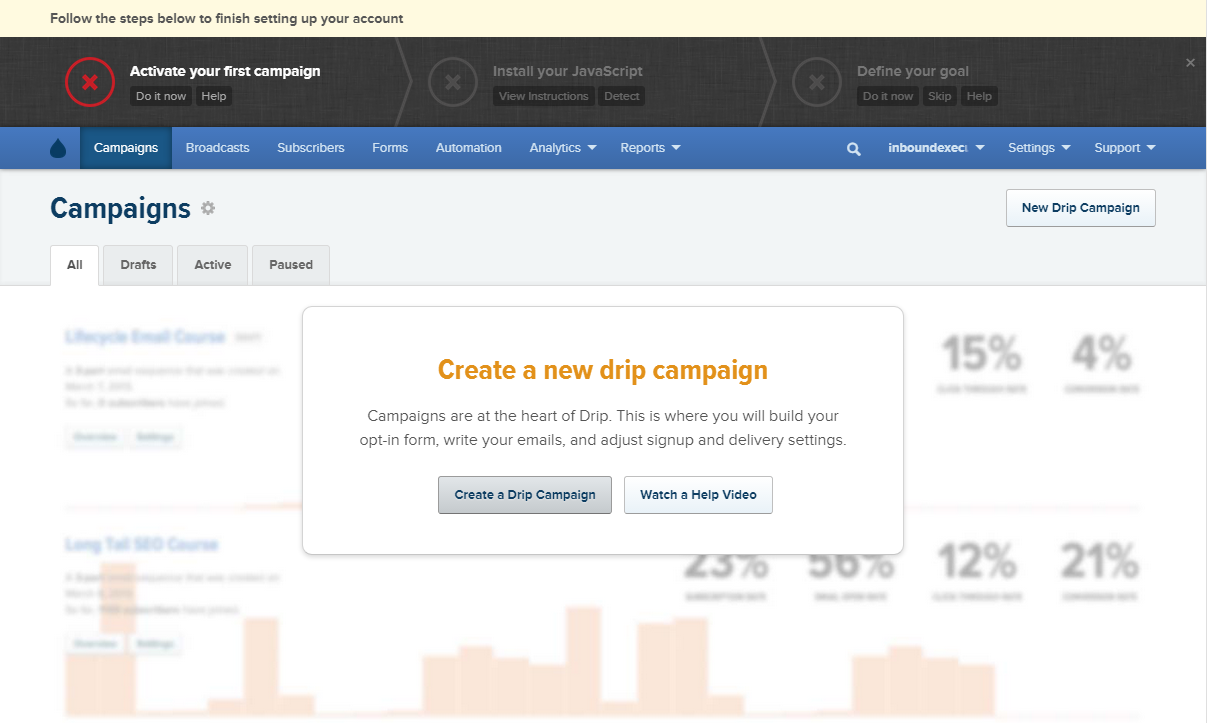
When you login for the first time, you will be prompted to create a new drip campaign.
Choose Your Course's Title
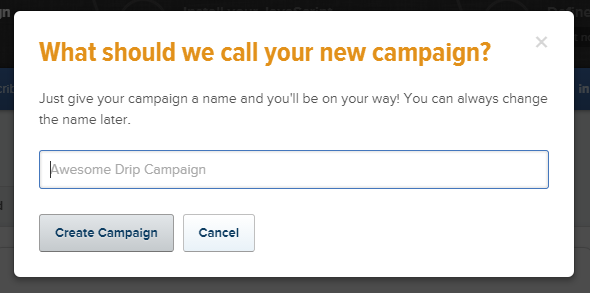
This won't be seen anywhere outside your dashboard, and it can be changed later, so don't stress too much about this.
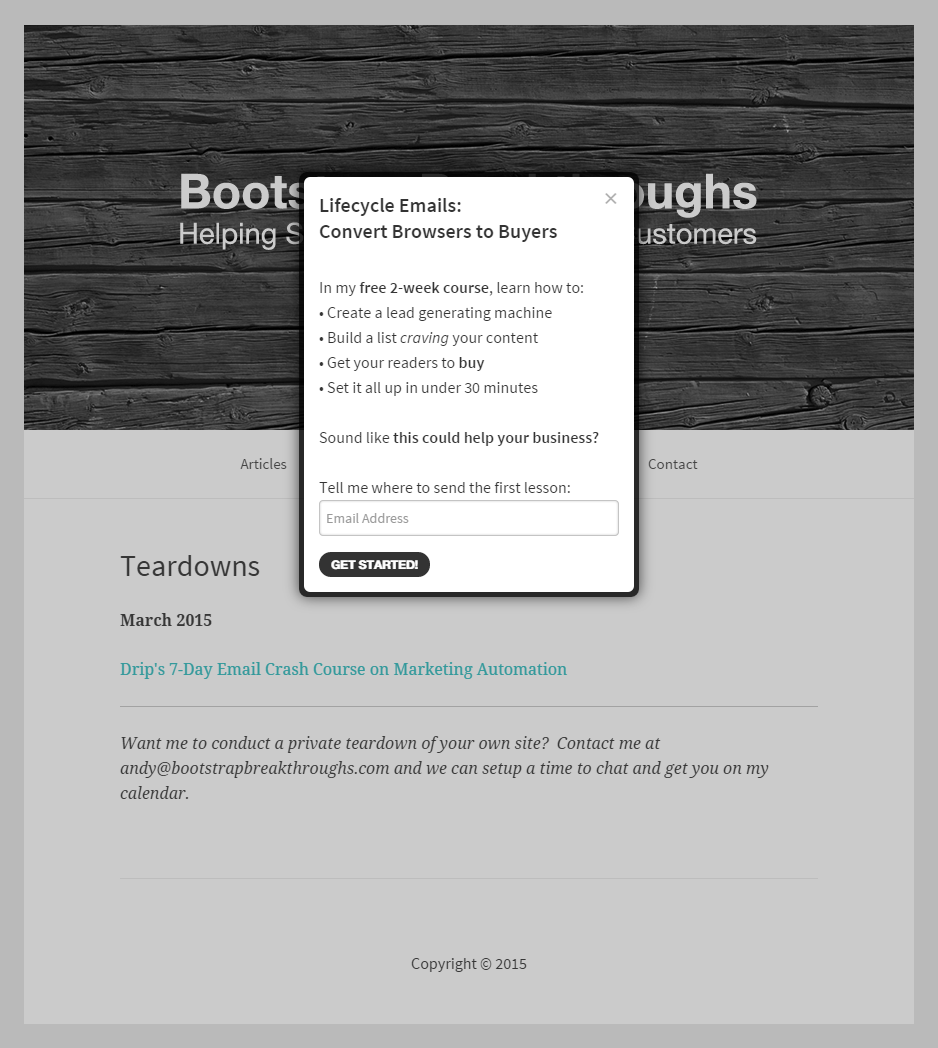
Create Your Opt-In Form
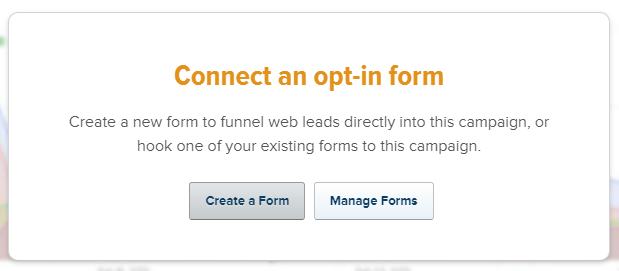
This will lead you to the page to create the popup that will present your offer to your readers.
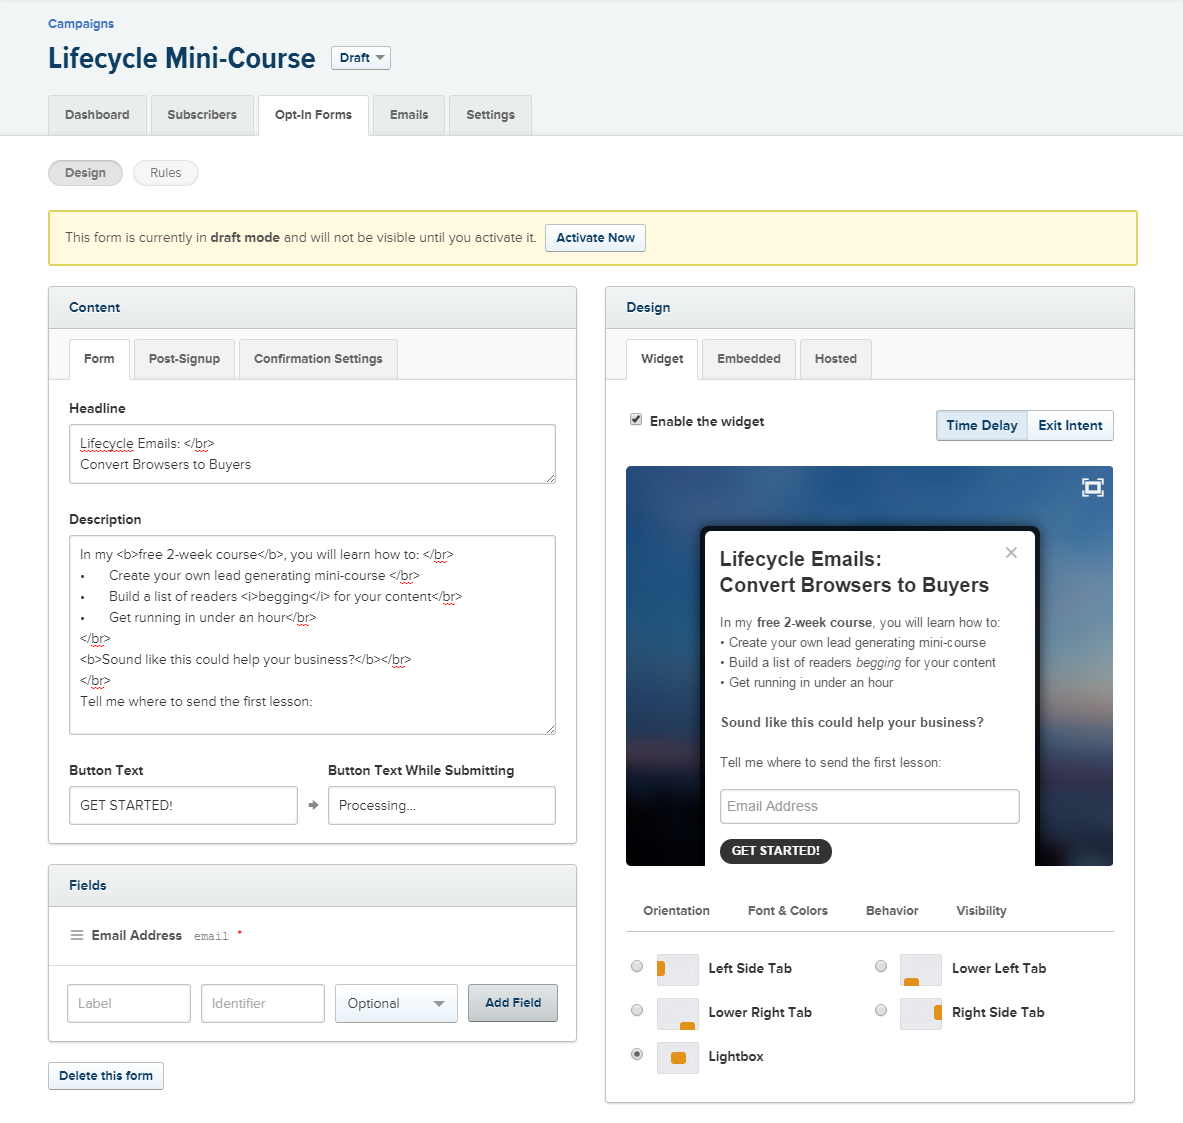
There are a lot of options on this page, but it is all pretty straight forward.
Fill in what you want to say and check the preview on the right to make sure it looks the way you want it to.
Unfortunately, you need to use HTML to change much with the formatting of the content, but this is pretty easy. If you need help with this, check out this HTML Cheatsheet
In the bottom right there are a few different options to be aware of:
- Orientation: where the popup is shown on your page
- Font and Colors: pretty self explanatory
- Behavior: how long it takes for the popup to be shown, how often it should be shown, and other similar settings
- Visibility: what pages the popup should and shouldn't be shown on
Need Any Help?
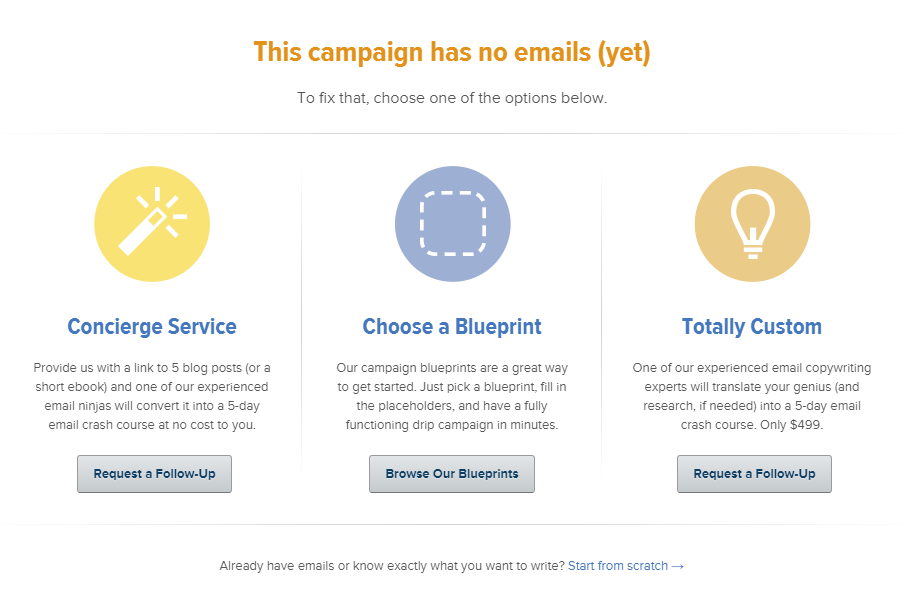
The shows you just how easy Drip makes it for you to get started.
If you already have blog content you want to use for your mini-course, they will convert that into a simple 5-day course for free.
If you don't have any content and want them to research and write the course from scratch, they can do so for only $499.
They even have a collection of templates, or "blueprints," to help give you ideas on the kind of emails you should consider sending.
I have my own content ready, so I clicked "start from scratch"
The Email Editor
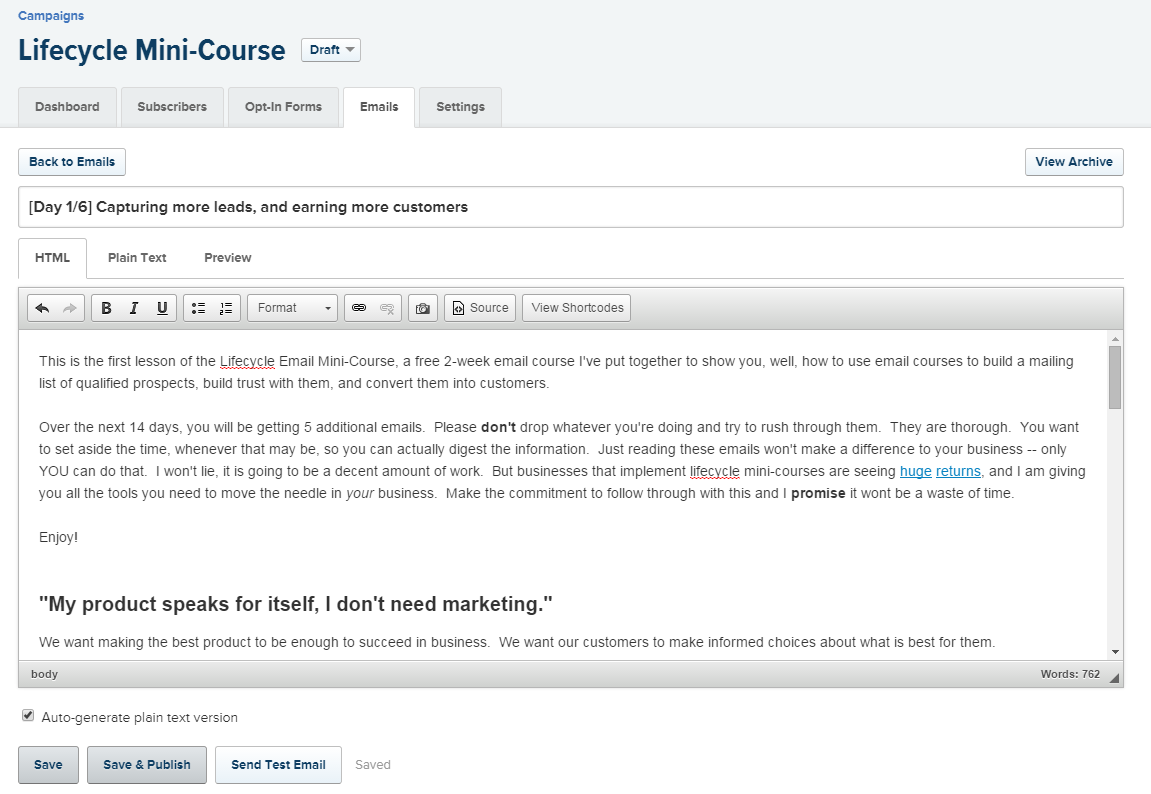
The folks at Drip put a lot of thought into their UI, so most screens are pretty straightforward.
Unlike when you created the opt-in form, there is a basic text editor built in so you don't need to mess around with HTML.
Just get everything the way you want it to look, save it, and then click "back to emails"
Add More Emails
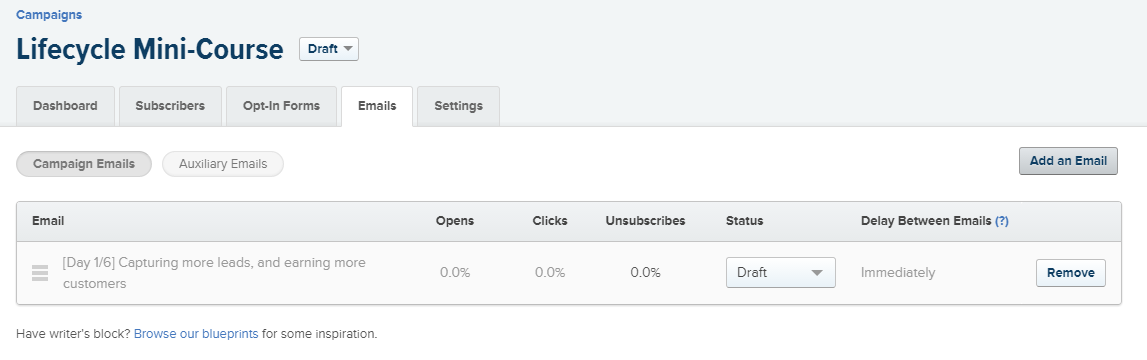
Click "add an email" to get the rest of your messages setup
Set The Schedule

Once everything is ready, you need to tell Drip when to send each email. The number of days shown on this page refers to how long drip waits to send a message since the last message was sent.
For this campaign, the first message is sent on signup, the next 1 day after that, then 1 day after that, and so on.
When you get everything the way you want it, change the status of your emails to "published" and click next.
Verify The Settings
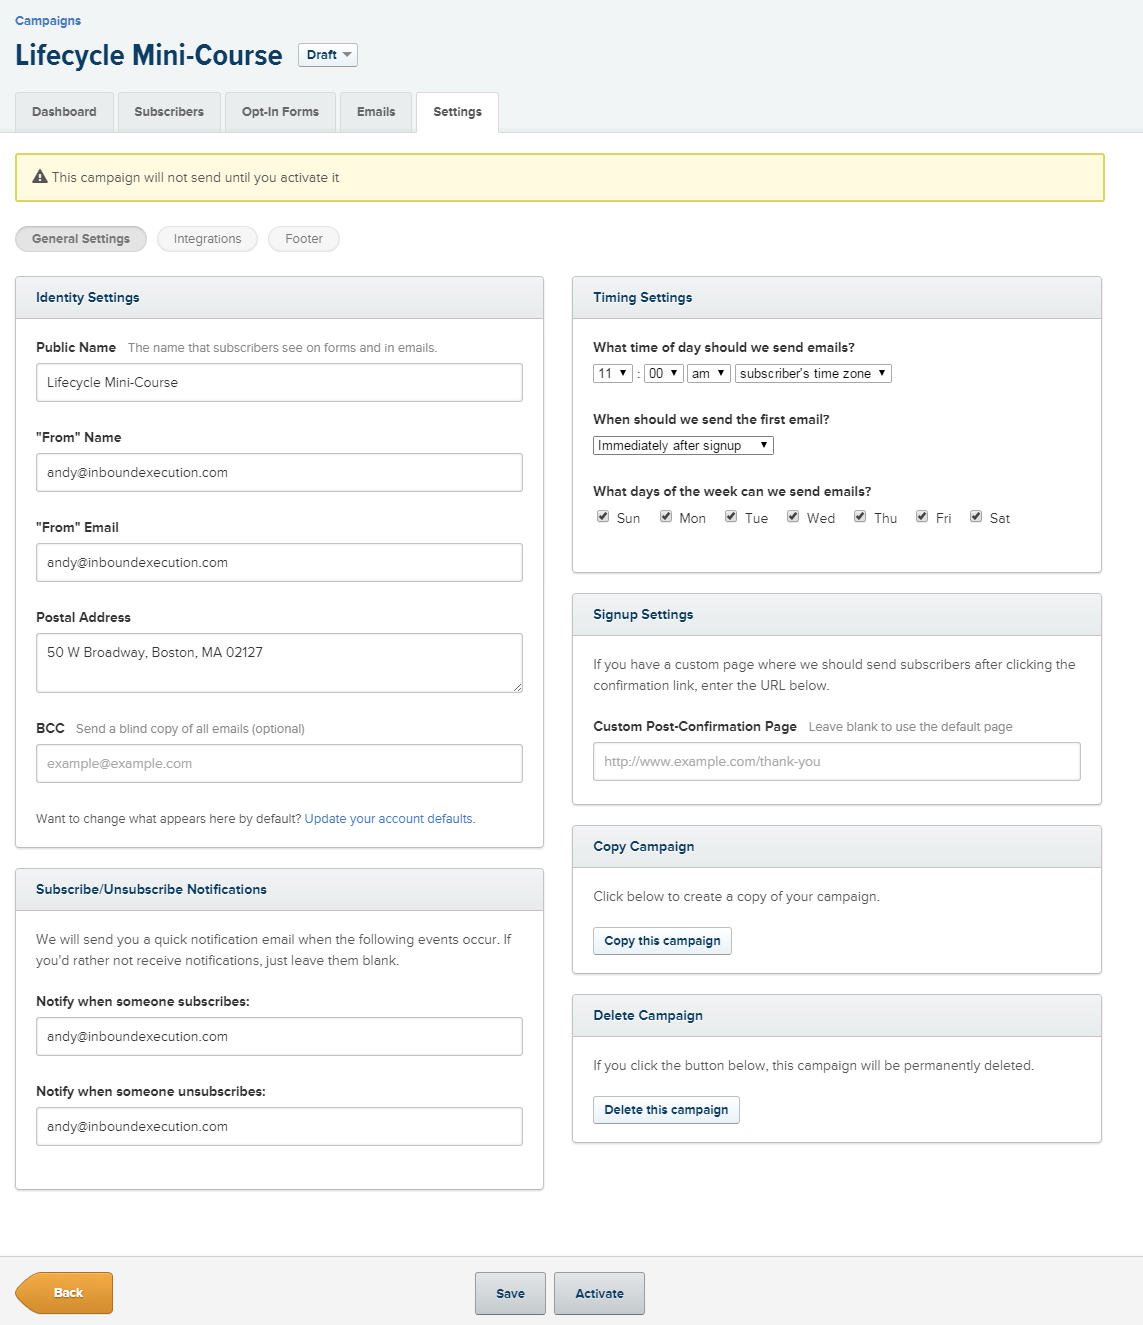
This brings you to the settings page. All you need to do is make sure the settings are the way you want them, press save, and then activate.
Install On Your Site
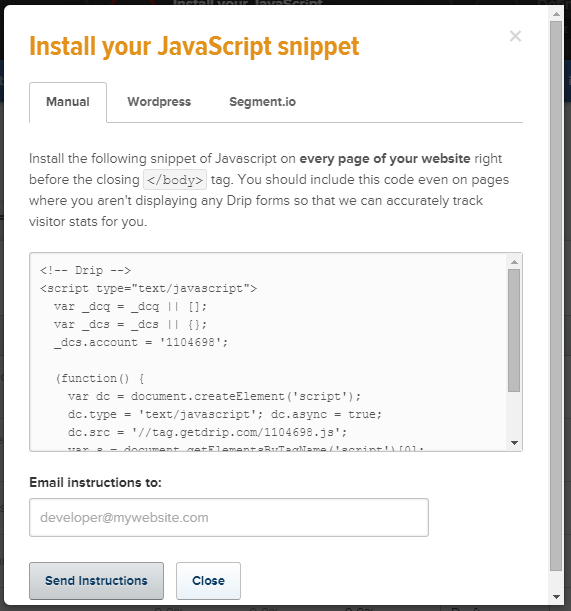
Now all that is left is installing the javascript snippet for the optin box on your site.
There are basic instructions for WordPress and Segment.io, and the raw code if you are using another solution.
If you don't have access to your site's files, it shouldn't take your administrator more than a minute to add the code for you.
And there you have it!
Your own lifecycle email course, all setup and ready to go in less than 30-minutes, courtesy of Drip.
If you want to read my more thorough review of Drip's services, you can find that here.
And if you are ready to start your own 3-week trial, then head on over to getdrip.com